Setup - Local Environment
For those using MacOS or Linux, documentation will be added at a later date.
This section covers setting up the local development environment with WSL (Windows Subsystem for Linux) in order to edit the Dying Star project documentation. This environment allows you to edit pages with live previews in your browser.
This procedure will cover:
- Installing a Linux distribution on Windows using WSL2
- Installing Make to set up the build environment
- Installing GitKraken to work with existing Git versioning
- Clone the repository
- Installing Docker to run an instance in a virtual environment
- Installing Visual Studio Code
- Start the development environment
Install WSL2
Prerequisites
Before enabling virtualization, make sure the following conditions are met:
- CPU compatibility: Most modern processors support virtualization technologies such as Intel VT-x or AMD-V. These features allow the CPU to run virtual machines efficiently.
- BIOS / UEFI compatibility: Recent systems generally provide a virtualization option directly within their BIOS / UEFI settings.
- Windows Version: You must be running Windows 10 version 2004 and higher (Build 19041 and higher) or Windows 11 to use the commands below. If you are on earlier versions please see the manual install page.
To run WSL 2, hardware virtualization must be enabled on your machine. Follow the steps below:
- Restart your computer. While it is booting, press the key that opens the BIOS/UEFI configuration panel (commonly
F1,F2,Delete,EscapeorF10) - Once inside the BIOS/UEFI menu, look for sections such as
Advanced,Processor, orCPU Configuration - In the CPU configuration section, locate an option named
Intel Virtualization Technology,VT-x,AMD-V,SVMor simplyVirtualisation(the exact wording varies depending on the manufacturer) - Enable the corresponding virtualization option
- Before exiting, make sure to save your changes (usually by pressing
F10or using a “Save & Exit” menu) - Restart your computer
Useful Links
Install WSL
To install WSL and enable all required features, open PowerShell as administrator and run:
wsl --install

Once the process completes, restart your computer.
By default, Ubuntu will be the Linux distribution installed. If you want to use another distribution, refer to the custom installation procedure.
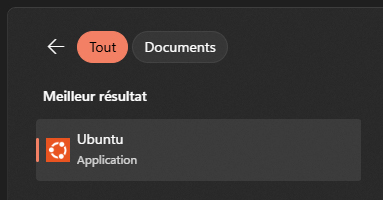
Once installing your Linux Distribution is complete, open the distribution (Ubuntu by default) using the Windows Start menu.
When you launch the distribution for the first time, you will be prompted to:
- Choose a User Name
- Choose a Password
These credentials apply only to your Linux environment and do not affect your Windows account.
Once created, this user will be your default account and you will be signed in automatically on each launch.

sudo administrative commands.Useful Links
Install Make
To install Make on your Linux distribution, start by updating your package list with the following command:
sudo apt-get update
Then, run the following command to install Make:
sudo apt-get -y install make
You can check if Make has been installed correctly with:
make -v
Install GitKraken
First you have to download GitKraken package using the following command:
wget https://api.gitkraken.dev/releases/production/linux/x64/active/gitkraken-amd64.deb
Once the download is complete, run the following command to install the downloaded package:
sudo apt install ./gitkraken-amd64.deb
Once GitKraken is installed, you can start it with:
gitkraken
On Windows 11, this works out of the box thanks to WSLg. On Windows 10, you must install an X11 server such as VcXsrv.
Clone Repository
Repository link : https://github.com/DyingStar-game/technical-docs
With Ubuntu open, to launch GitKraken, enter the command in the console :
gitkraken
When the application opens, select File → Clone Repo... Choose the folder where you want to clone the repository, paste the technical-doc repository URL, and click Clone the repo!.
After cloning, a banner will appear at the top of GitKraken offering to open the newly cloned repository.
Install Docker
Docker Desktop : https://www.docker.com/products/docker-desktop
Start by downloading the Docker Desktop installer from the product page.
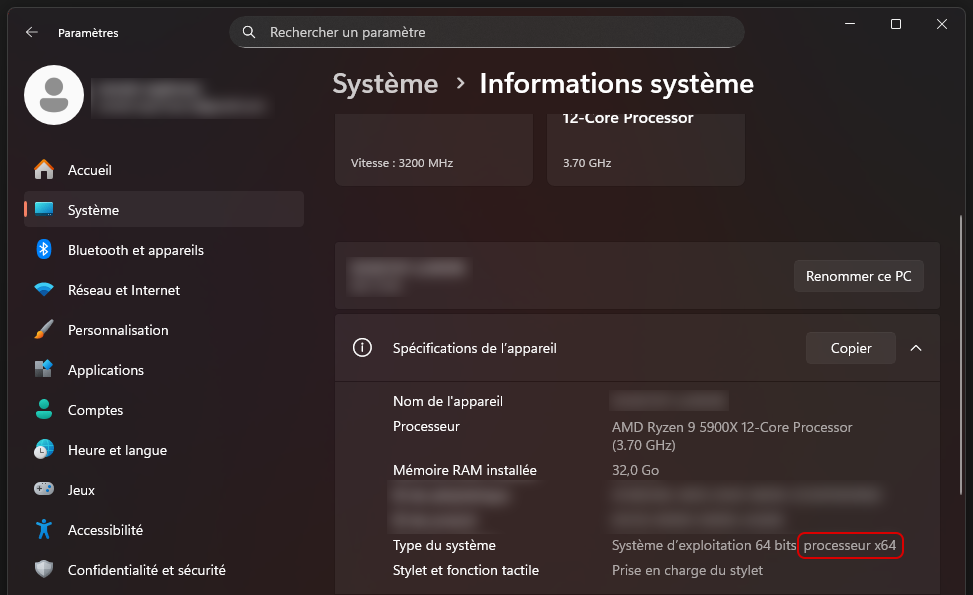
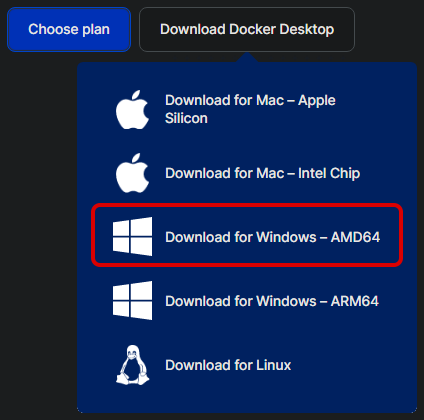
Choose the right version of Windows for the installer to download!
If you don't know which version of Windows (AMD64 or ARM64) you are using, the information can be found in Settings -> System Information
Once downloaded, launch the Docker Desktop installation:
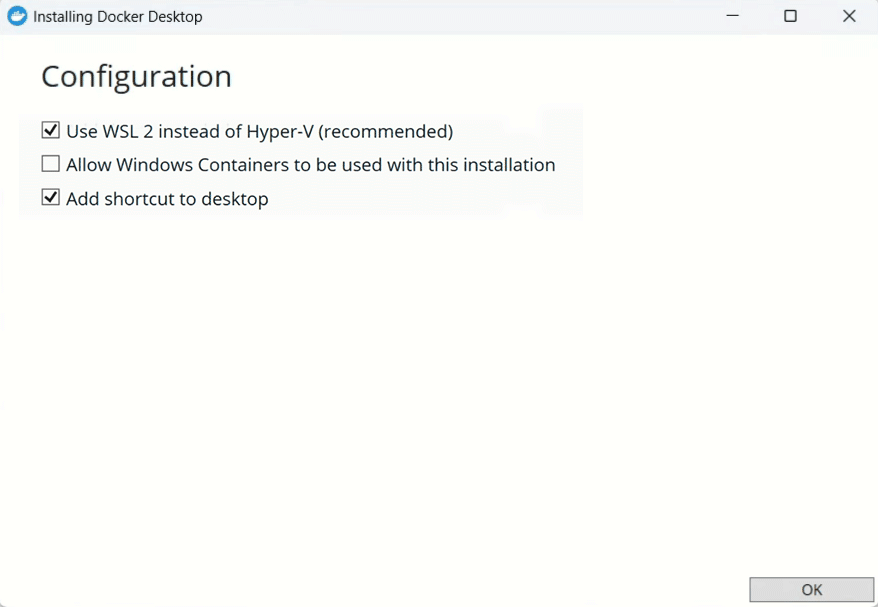
Docker Desktop may require a reboot to finish installing components.
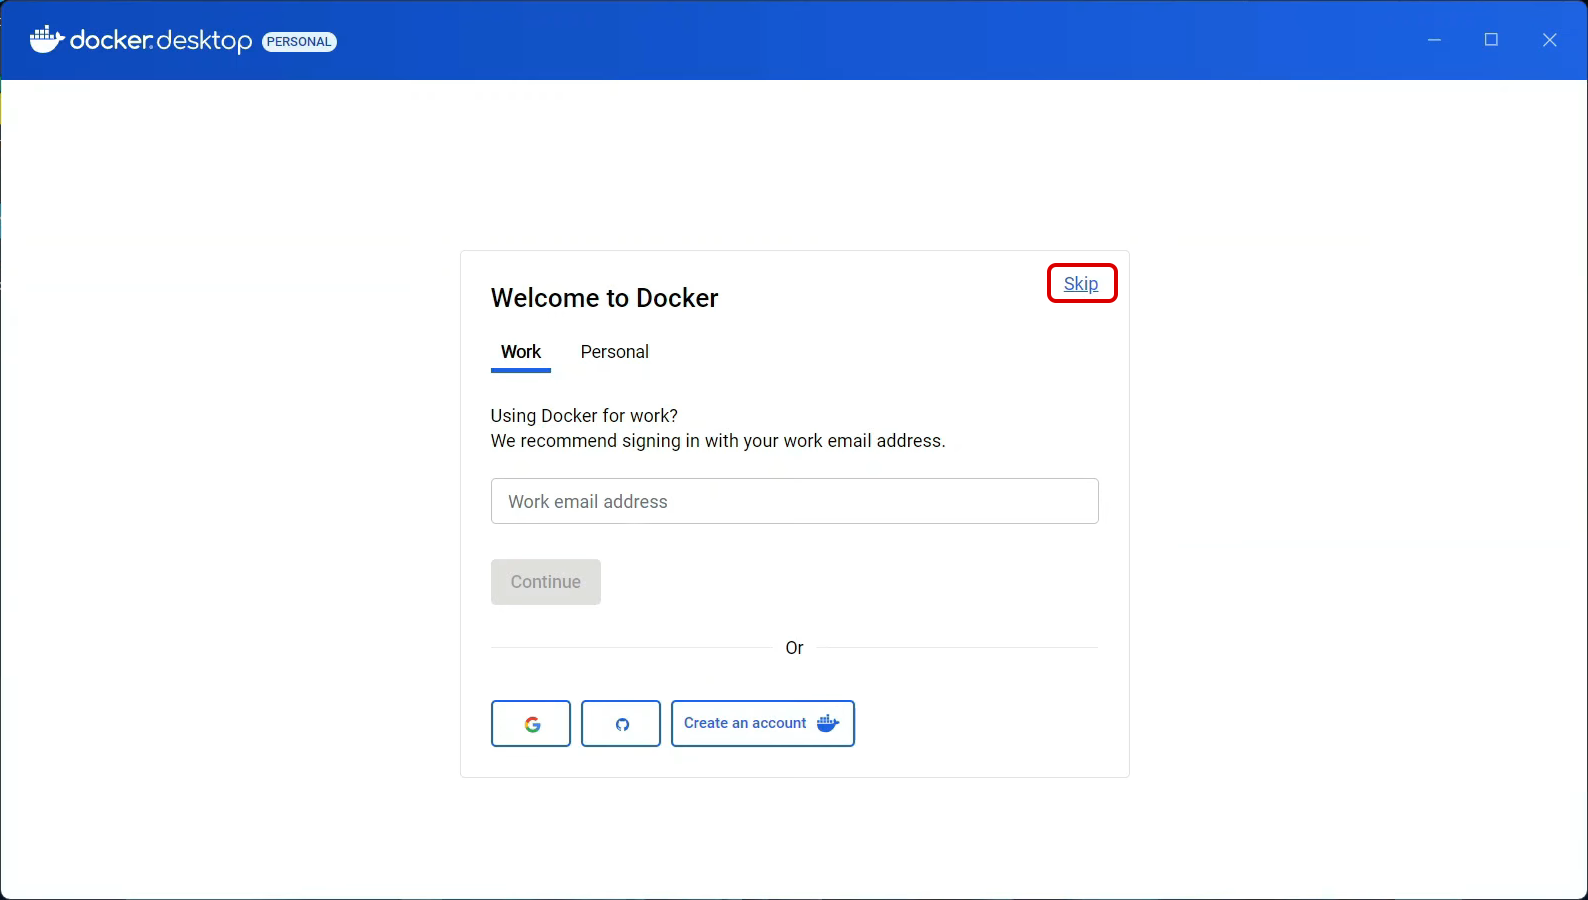
You can log in to your Docker account or create a new one / proceed without logging in:
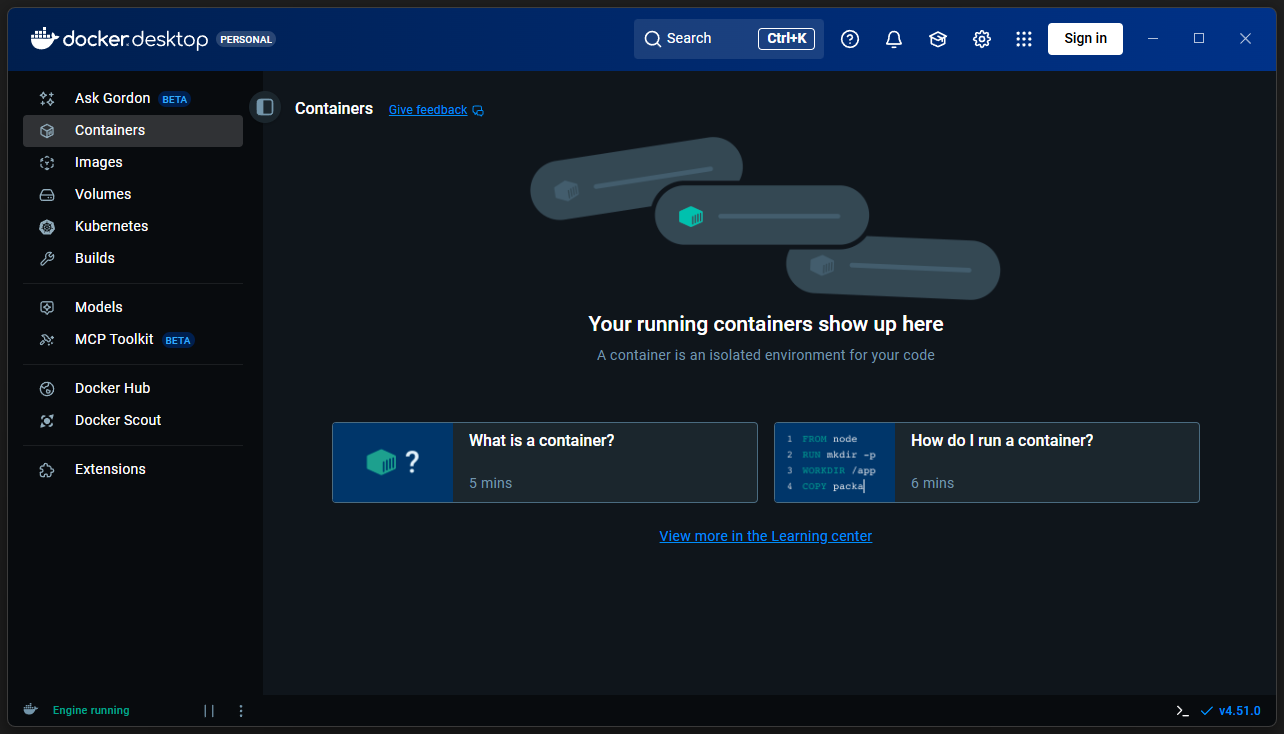
Docker is now installed and running!
Useful Links
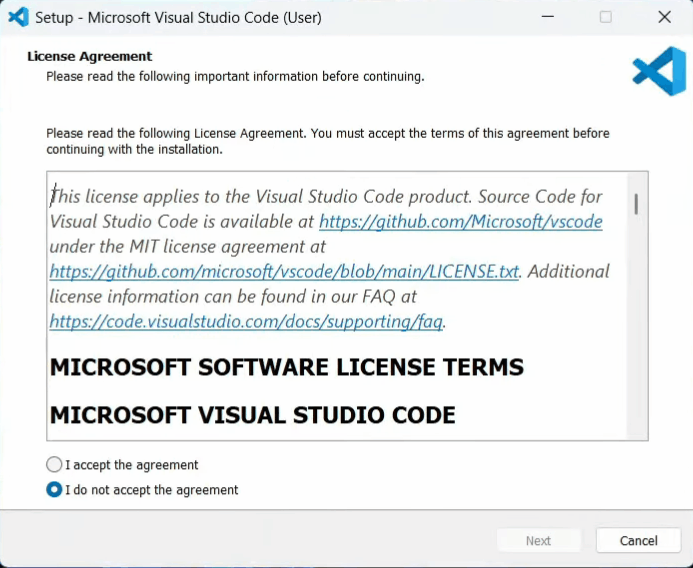
Install Visual Studio Code
Visual Studio Code : https://code.visualstudio.com/download
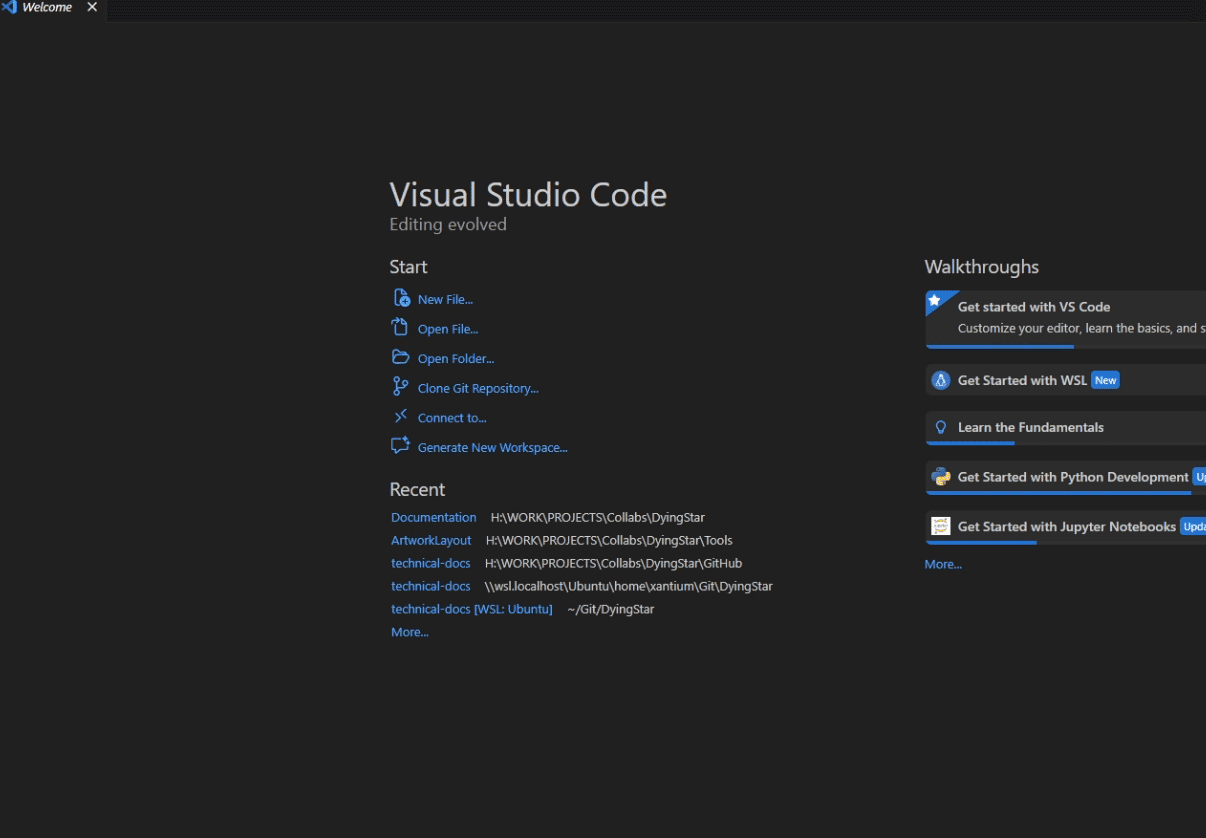
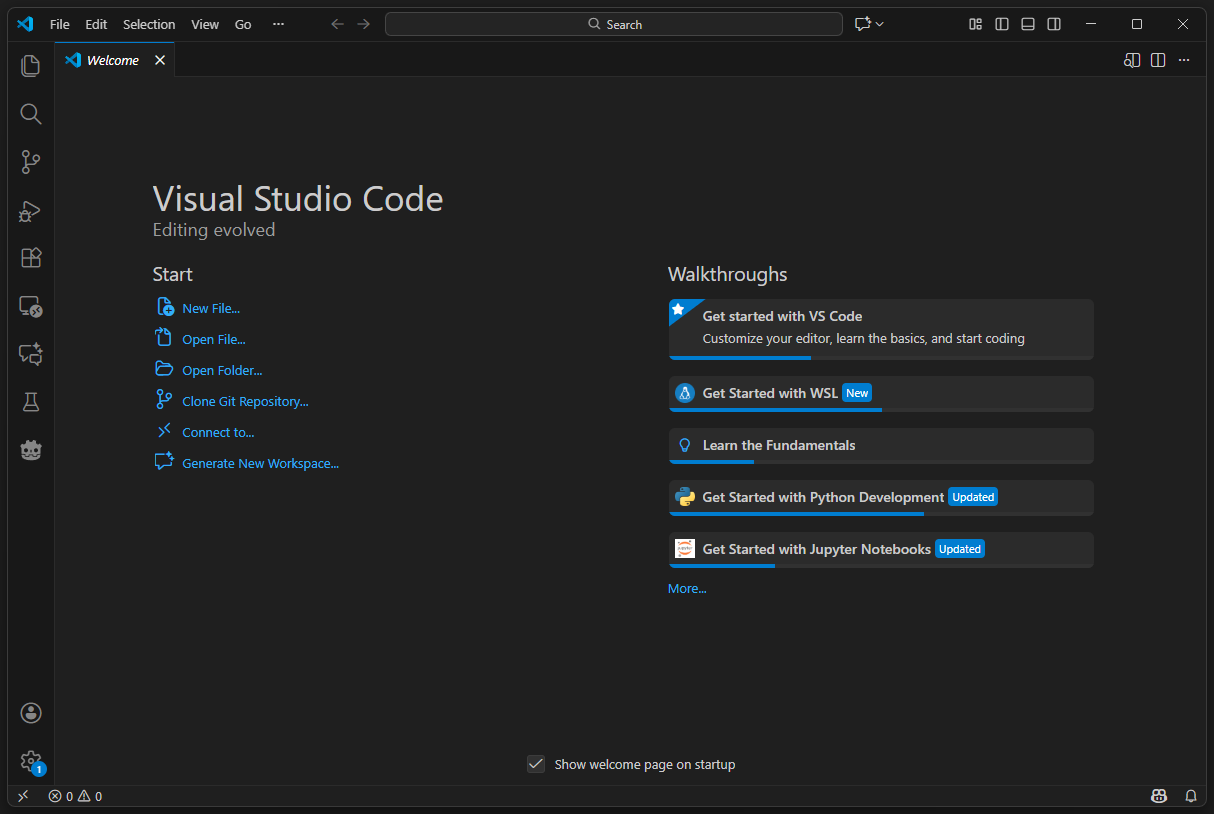
Start by downloading the Visual Studio Code installer from the product page then run the installer.
Once installed, an empty project window opens.
Ensure you have the Remote – WSL extension installed in Visual Studio Code.

Useful Links
Project Start-Up
To open the project from your Linux distribution, start by navigating to its location on the disk using the following command:
cd path/to/project
In our case here:
cd Git/DyingStar/technical-docs/
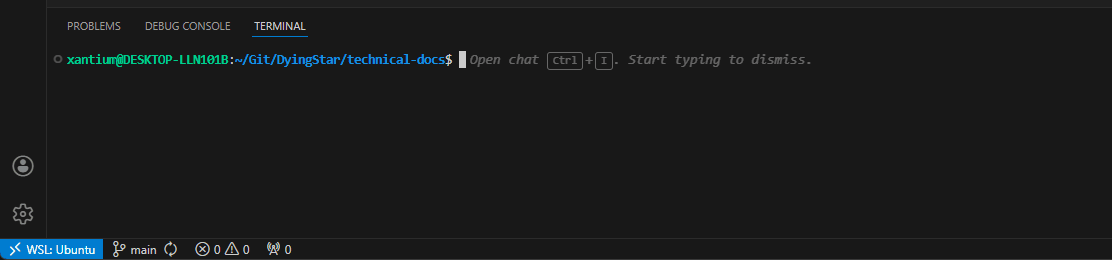
Then run the command to open Visual Studio Code from the current folder:
code .
Once the project is open, you can build the development environment using the following command in the Visual Studio Code terminal:
make up
Ensure that the project dependencies are installed with the command:
make pnpm install
You can now run the local server by entering:
make pnpm start
Once the development server has been started and the client compiled, open your browser and enter the following address in your URL bar:

The local version of the website will be displayed once the project has been built and the page loaded.
You can now start editing the documentation!